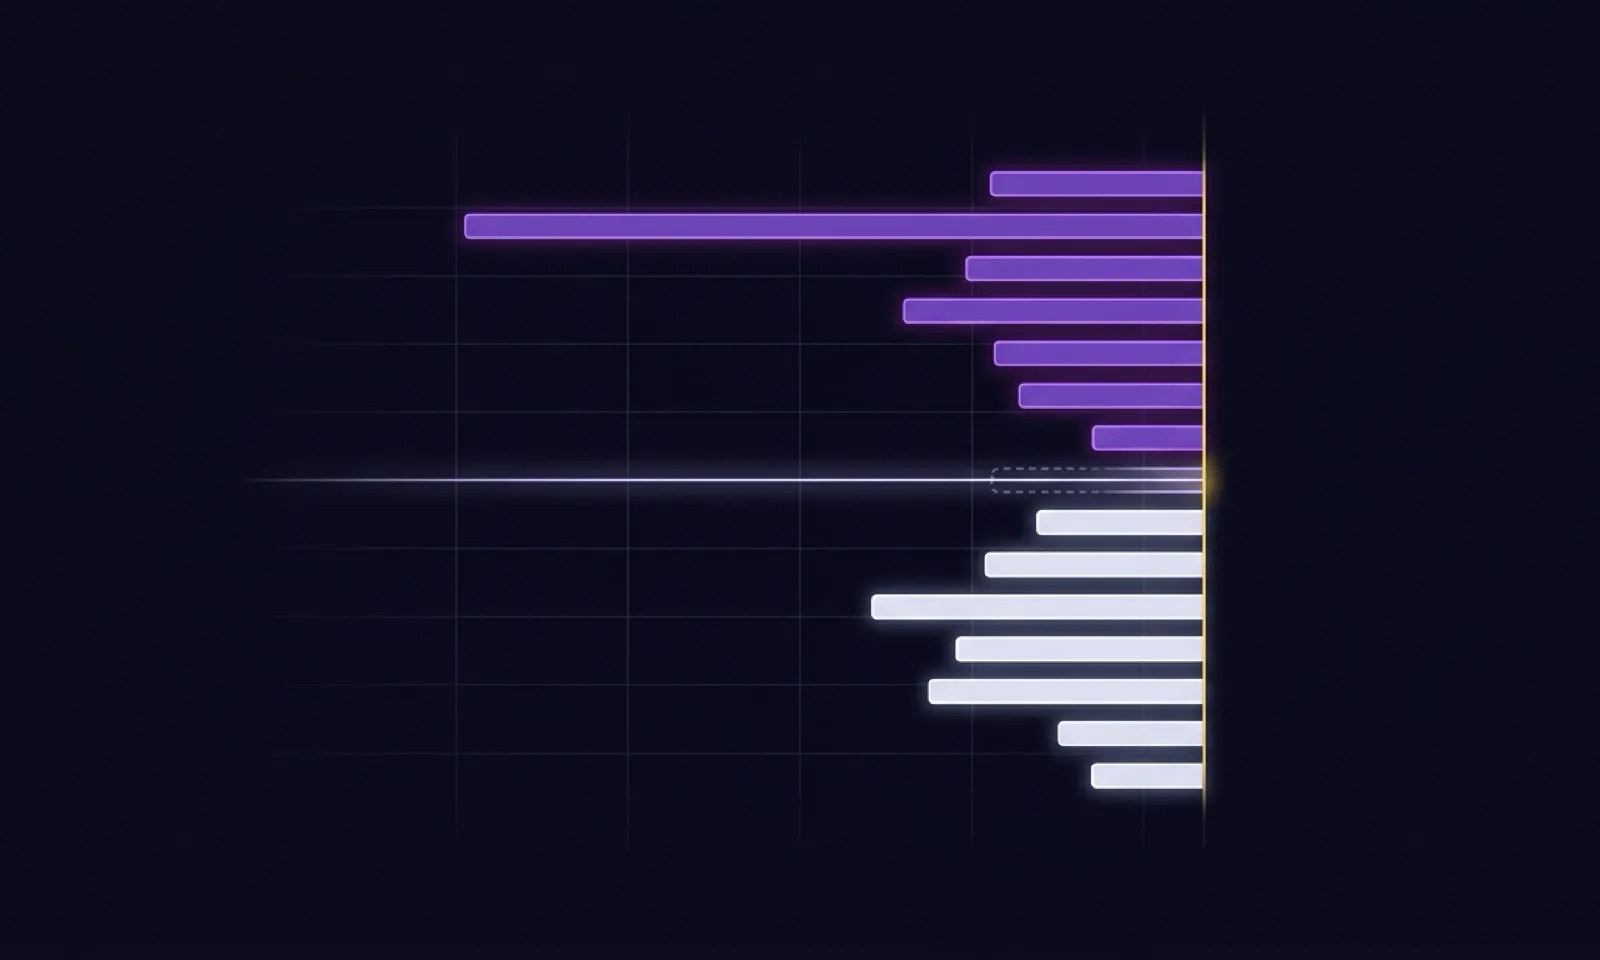
A heatmap draws resting limit orders over time — passive liquidity at every price level. The brighter the colour, the more contracts sit at the level. A candle shows what happened; the heatmap shows why: where the barriers stand that can stop a move, and where the vacuum is that price will fly through. The catch is one word: a limit order can be cancelled at any time.
The base rule: a bright zone is a hypothesis
Large orders routinely get pulled or repositioned before price reaches them. Brightness means liquidity concentration now — not a promise it will stay. All correct heatmap reading follows from this: you never judge the wall itself, you judge how the market behaves on contact with it.
The three tests of a real wall (absorption)
At the touch, watch simultaneously:
- The zone holds its colour — it doesn't fade or vanish as price approaches.
- Large executions print right at the level (bubbles/prints) in one direction — aggression hammering the limits…
- …and price doesn't get through. Ideally with a delta divergence: buys keep growing, no new highs anywhere.
All three together = a strong case for absorption. One out of three = a reason to observe, not to conclude.
Warning signs a level will NOT hold
- Pulling liquidity: the bright zone weakens just before the touch → nobody intends to defend it; price usually flies through the resulting vacuum fast and without resistance.
- Spoofing / bait walls: a giant wall lights up (often away from price), manipulates the crowd's perception — and disappears before execution. Real liquidity shows consistency: it persists over time and across multiple levels; fleeting one-off spikes are noise or theatre.
- Sweep: a fast spike through a bright zone with minimal large executions on the break + a sharp return = a stop run, not a legitimate breakout.
The classic beginner mistakes
- Entering at every glowing zone. Many walls die before price ever reaches them.
- Reading without context. Without higher-timeframe structure, the daily range and the volume profile, the map is just coloured stripes. The level must make sense even without the heatmap.
- Wrong scale. Extreme tick-level zoom = visual chaos; badly set cut-offs = ordinary orders look like walls. Start at a readable scale and set thresholds so only the exceptional glows.
- Colour without delta. A bright zone unconfirmed by aggression may be a decoy — always pair it with executions.
- (Crypto) Confusing an order-book heatmap with a liquidation heatmap — a completely different data source and reading logic.
The magnet effect and icebergs
Price is attracted to large liquidity zones — the market seeks liquidity to pair trades. And note the opposite of a wall: a thin visible layer that price keeps hitting while the level keeps refilling and executions keep flowing — that is the signature of a hidden player (an iceberg).
Style fit and what it brings
Scalping: short-term S/R from large limit orders, micro entries. Day trading: key reversal levels, breakout confirmation, trap avoidance. Swing: with longer map history and CVD, even medium-term targets from deep liquidity shelves. The overall gain: you see intent before it becomes action — and you can tell when the intent is theatre.
Frequently asked questions
What does a liquidity heatmap show?
Resting limit orders — the order book over time — coloured by size, so persistent large walls of liquidity appear as bright zones while ordinary book stays faint.
How do I tell a real wall from spoofing?
A real wall stays as price reaches it and absorbs market orders (you see executions hit it and price stall); a spoof is pulled just before price arrives. Confirm with the footprint or CVD at the level.
Is historical heatmap data available?
No. Order-book depth has no history at the exchange — a heatmap must be recorded forward from the moment you start watching. You cannot backfill it after the fact.
Why did a big wall suddenly disappear?
Either it was spoofing (pulled), or it was genuinely consumed by aggressive orders. The tape at that instant tells you which: heavy executions into it (absorption) versus a clean pull with no trades.
Can walls predict reversals?
They mark where intent is concentrated, not certainty. A wall that absorbs and holds is a reversal candidate; one that is pulled or eaten is not. Always combine it with executed flow like the footprint.
The Liquidity Heatmap study in WyckFlow draws the book over time with on-disk history recording, a relative big-player filter and configurable cut-offs; the live DOM ladder complements it. Related reading: Big Trades, Icebergs, How to Read GEX.